-
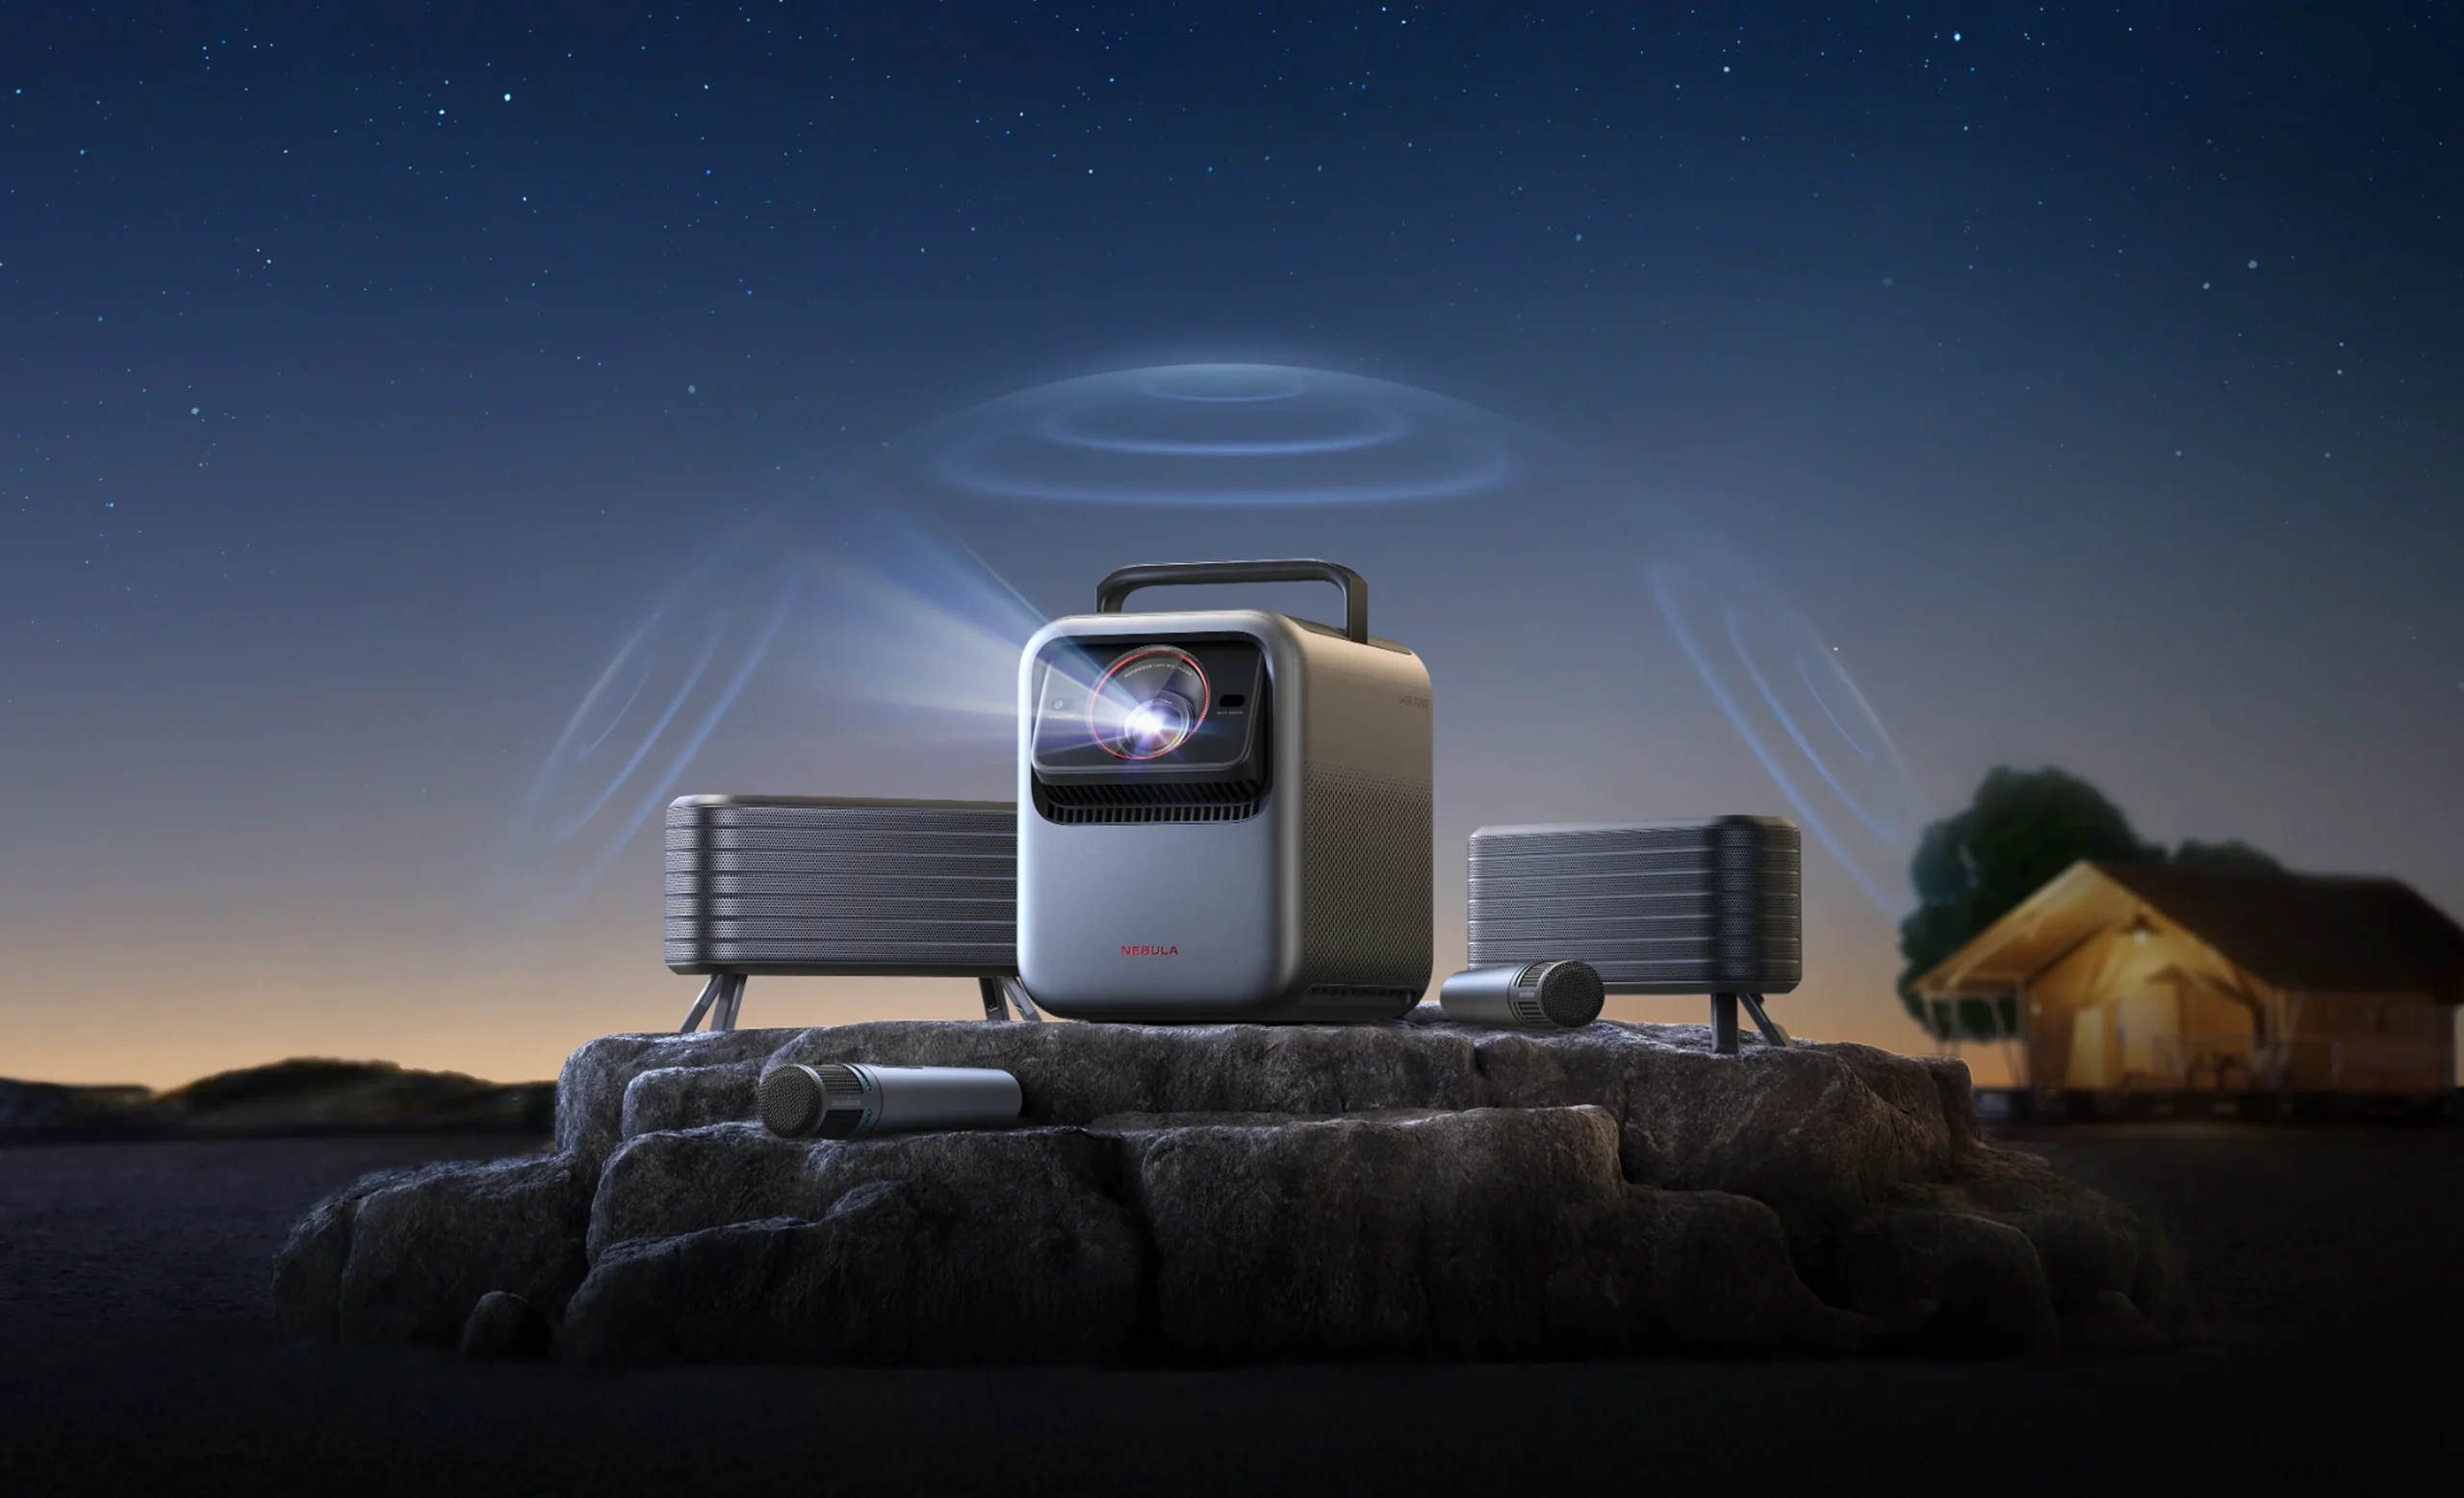
Anker’s Nebula X1 Is Cool—Literally. Meet the Liquid-Cooled Projector.
•
Well, here’s something you don’t see every day: a liquid-cooled projector. No, we’re not talking about a gaming PC—we’re talking about Anker’s newly announced Nebula X1, a 4K triple-laser projector that’s jumping into the spotlight with some genuinely interesting features, not least of which is that onboard cooling tech. Yes, liquid cooling—on a portable…
-
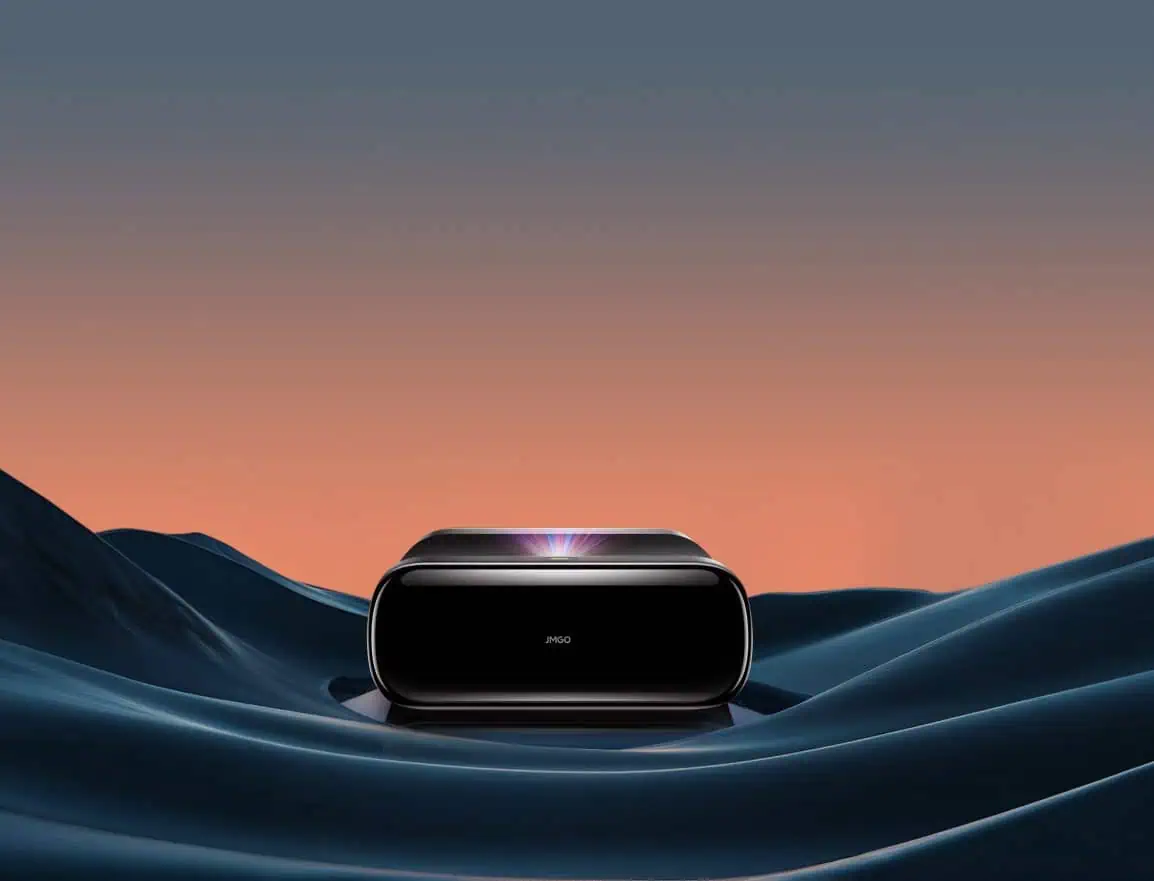
JMGO Unwraps a Slew of New AI-Powered Projectors at CES 2025
•
At CES 2025, JMGO is showcasing its latest developments in projection technology. JMGO is bringing a slew of new products to CES and to the market in 2025. Key Product Announcements Expansion of Google TV Lineup JMGO is also expanding its Google TV offerings. New models include the N1S 4K, launching online in March,…
-
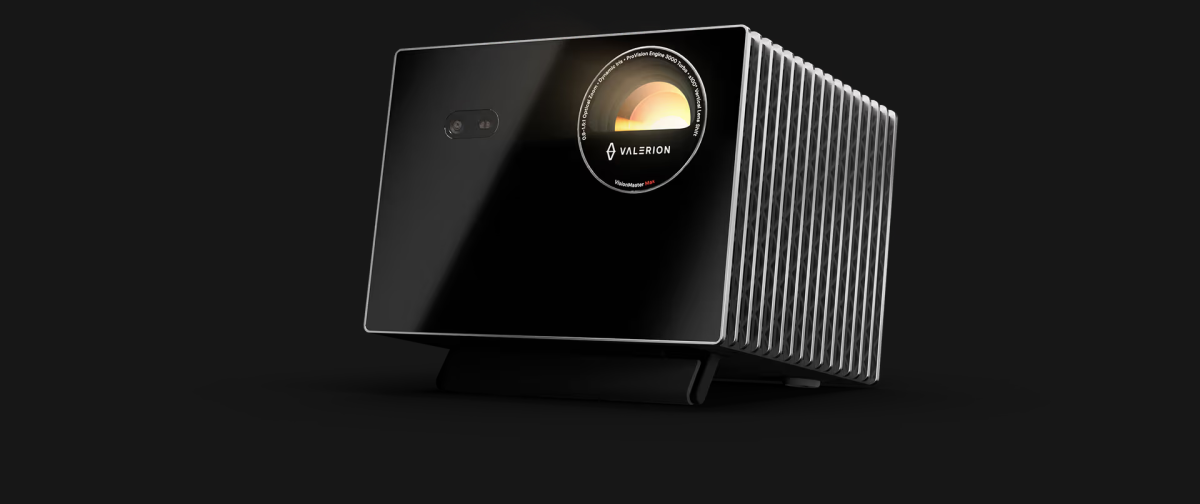
Valerion Unveils VisionMaster MAX and External Lens Concept at CES 2025
•
Highlights Valerion, a rising name in the home theater industry, has unveiled the VisionMaster MAX and its External Lens Concept at CES 2025. Following a record-breaking Kickstarter campaign that raised over $10.7 million, Valerion continues to push the boundaries of home entertainment technology. VisionMaster MAX: Setting New Standards in Home Projection The VisionMaster MAX…
-
Hisense Debuts 5000 Lumen L9Q TriChroma Laser TV At CES 2025
•
Highlights Hisense has introduced its latest offering in the Laser TV market, the L9Q, at CES 2025. Building on the L9 Series, the L9Q incorporates advancements in brightness, color performance, and audio, aiming to deliver a comprehensive home theater experience. Expanded Screen Options and Flexibility One of the standout features of the L9Q is…
-
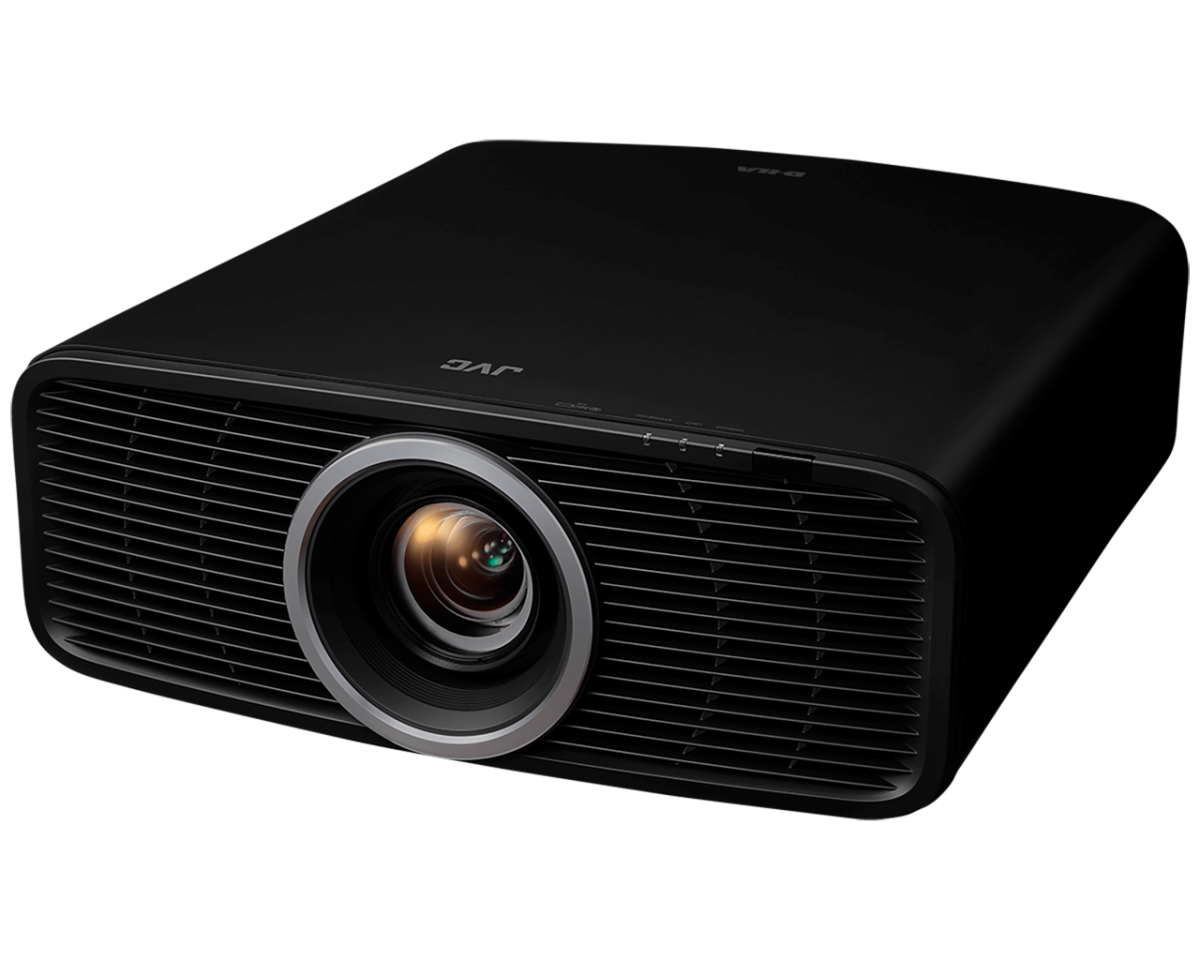
JVC Unveils New Smaller 4K Laser Projectors: DLA-NZ700 and DLA-NZ500
•
35% smaller chassis, a new motorized 80mm lens, improved HDR performance, and the same great contrast that JVC is known for – oh, and great prices. These models are sure to shake up the market.
-
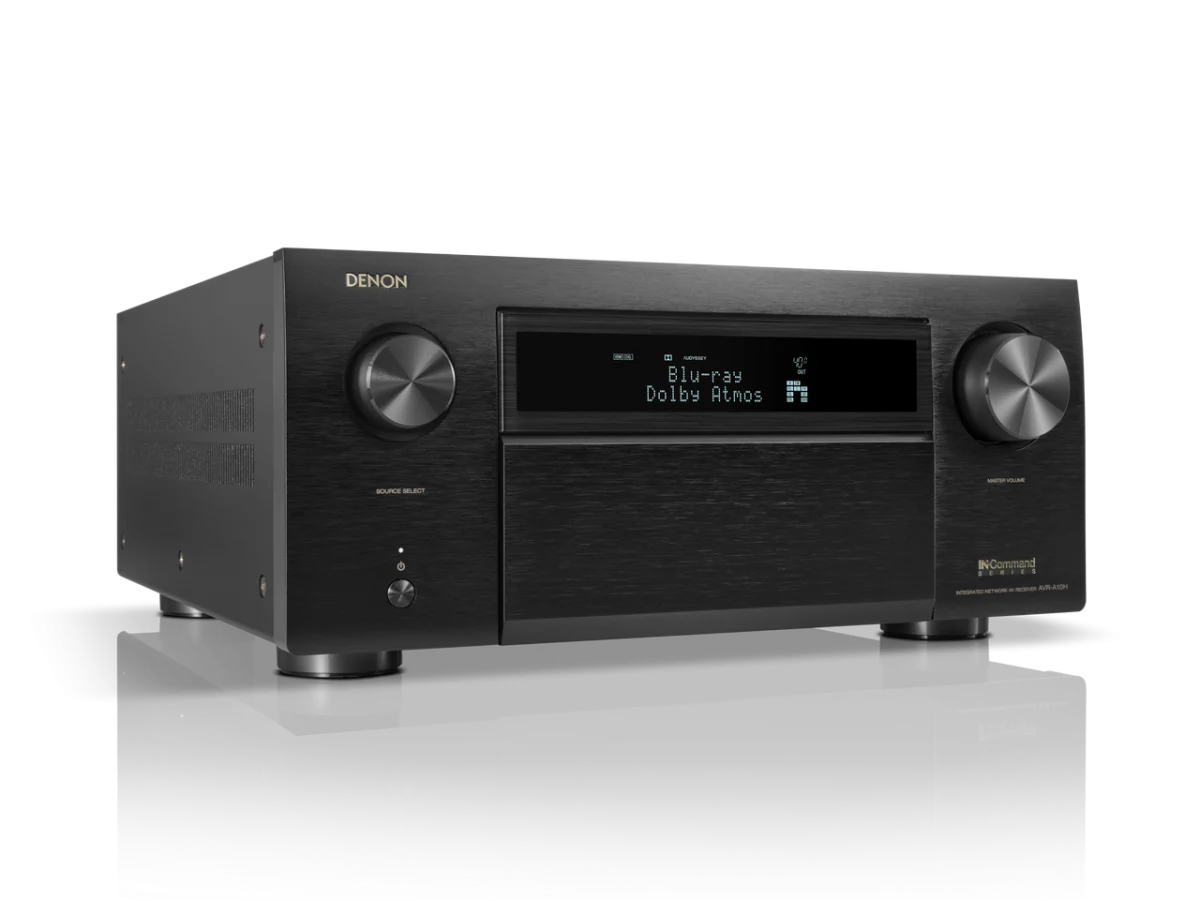
Denon Releases the AVR-A10H: A New Spin on the Flagship AV Receiver
•
At a Glance OverviewDenon has announced its latest addition to the high-end AV receiver market with the AVR-A10H, a 13.4-channel powerhouse that builds upon the foundation of their previous flagship models. Priced at $4,699, the AVR-A10H enters a premium segment with a focus on top-tier sound and video quality, robust amplification, and the latest…
-
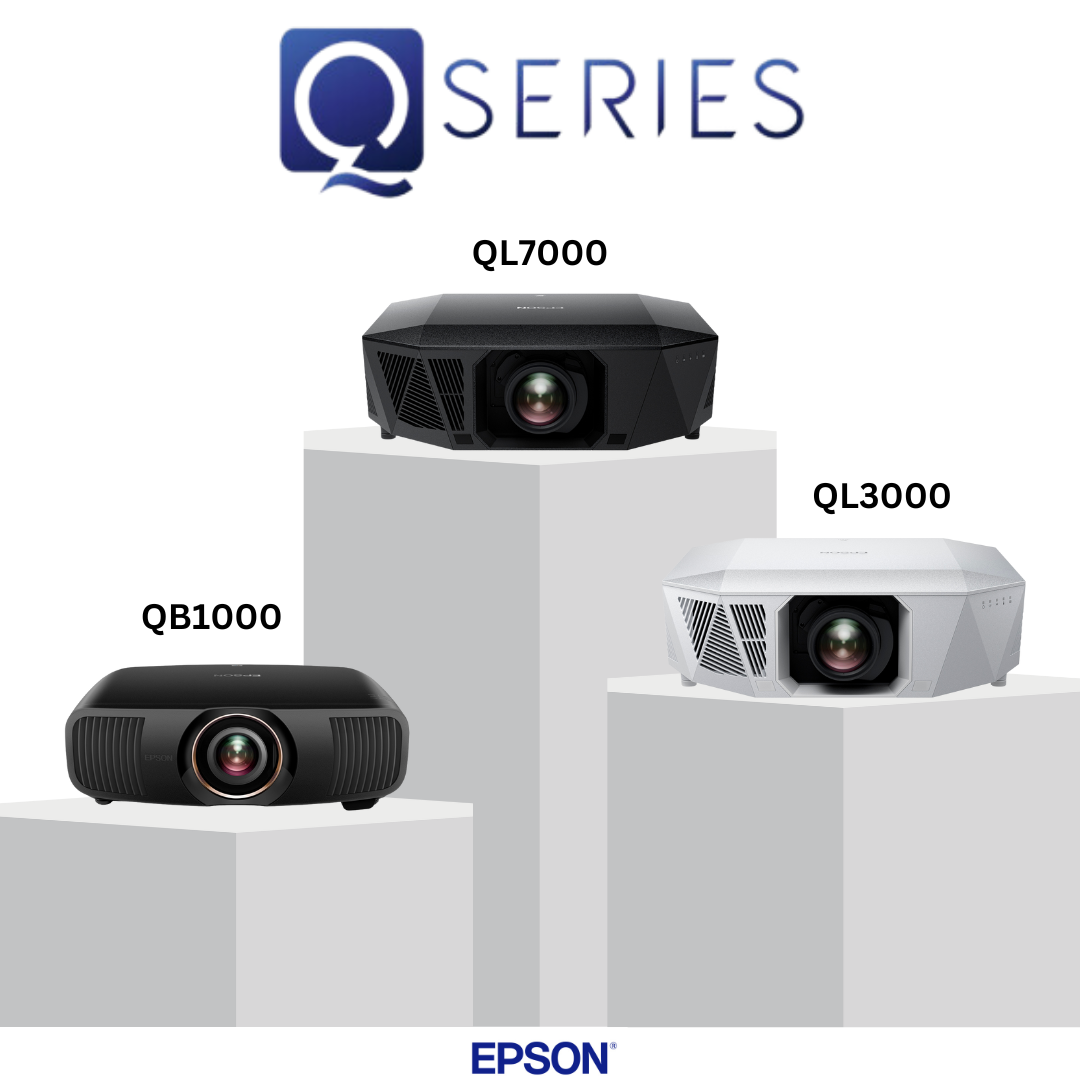
Epson Introduces New Q-Series Projectors: Aiming to Expand Home Entertainment Options
•
Epson’s new Q-Series 4K 3LCD Laser Projectors, featuring up to 10,000 lumens and advanced HDR technology, will debut at CEDIA 2024. The QB1000 model, an upgrade from the LS12000, includes dynamic tone mapping for enhanced visuals.
-
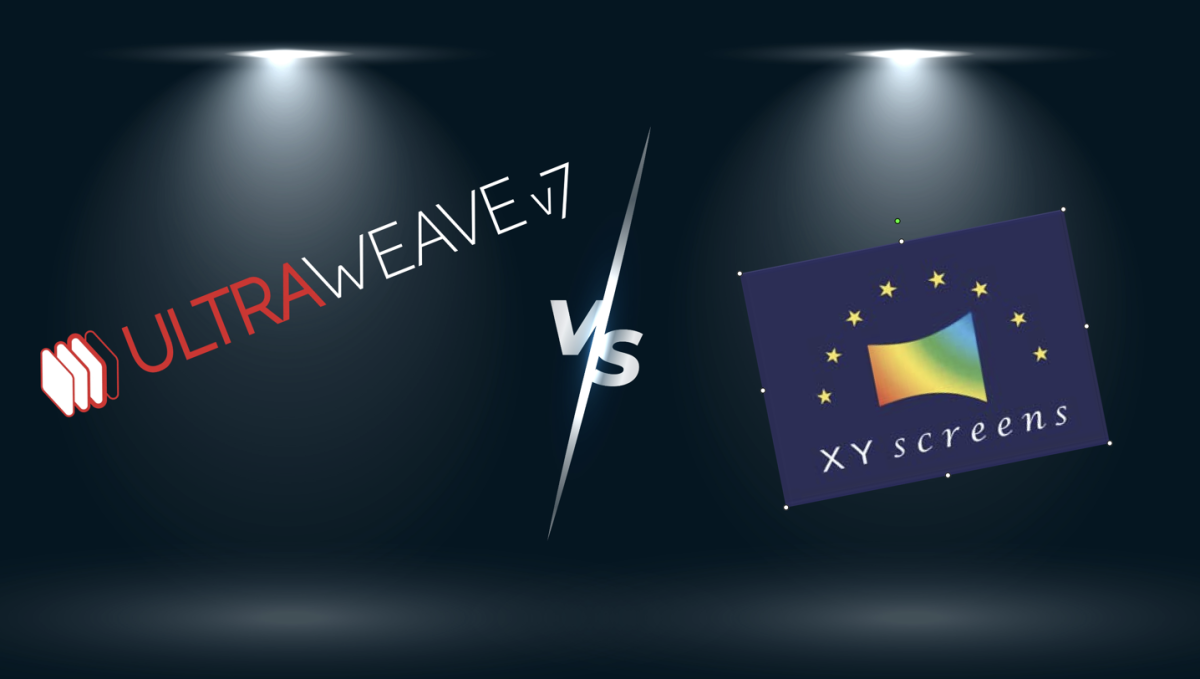
DreamScreen UltraWeave v7 vs. XY Screens SoundMax 4K
•
How I Got Here The DreamScreen UltraWeave v7 and XY Screens SoundMax 4K are two of the better performing acoustically transparent screen materials that came out of my recent comparison of 31 AT materials. The results can be found on AVS here, and on my own site with better formatting here. I liked the XY SoundMax…
-

31 Acoustically Transparent Screen Materials Reviewed and Measured
•
Finding the right screen and screen material for your home theater can be quite challenging. Screen size, screen gain, room environment, ambient light, projector light output, screen type, cost, and more can make anyone’s head spin. If you pick an acoustically transparent screen, things get more complicated: 1) there aren’t as many options, and…
-
Buying a Refurbished Projector
•
Projectors are expensive. Plain and simple. TVs have come down in price so much over the years that it is easy to get sticker shock when looking at a new 4K projector. But what a TV can’t give you is a massive theatrical screen in your own house. There’s a couple of options to…
-
Anker’s Nebula X1 Is Cool—Literally. Meet the Liquid-Cooled Projector.
Well, here’s something you don’t see every day: a liquid-cooled projector. No, we’re not talking about a gaming PC—we’re talking about Anker’s newly announced Nebula X1, a 4K triple-laser projector that’s jumping into the spotlight with some genuinely interesting features, not least of which is that onboard cooling tech. Yes, liquid cooling—on a portable projector.…
-
JMGO Unwraps a Slew of New AI-Powered Projectors at CES 2025
At CES 2025, JMGO is showcasing its latest developments in projection technology. JMGO is bringing a slew of new products to CES and to the market in 2025. Key Product Announcements Expansion of Google TV Lineup JMGO is also expanding its Google TV offerings. New models include the N1S 4K, launching online in March, and…
-
Valerion Unveils VisionMaster MAX and External Lens Concept at CES 2025
Highlights Valerion, a rising name in the home theater industry, has unveiled the VisionMaster MAX and its External Lens Concept at CES 2025. Following a record-breaking Kickstarter campaign that raised over $10.7 million, Valerion continues to push the boundaries of home entertainment technology. VisionMaster MAX: Setting New Standards in Home Projection The VisionMaster MAX is…