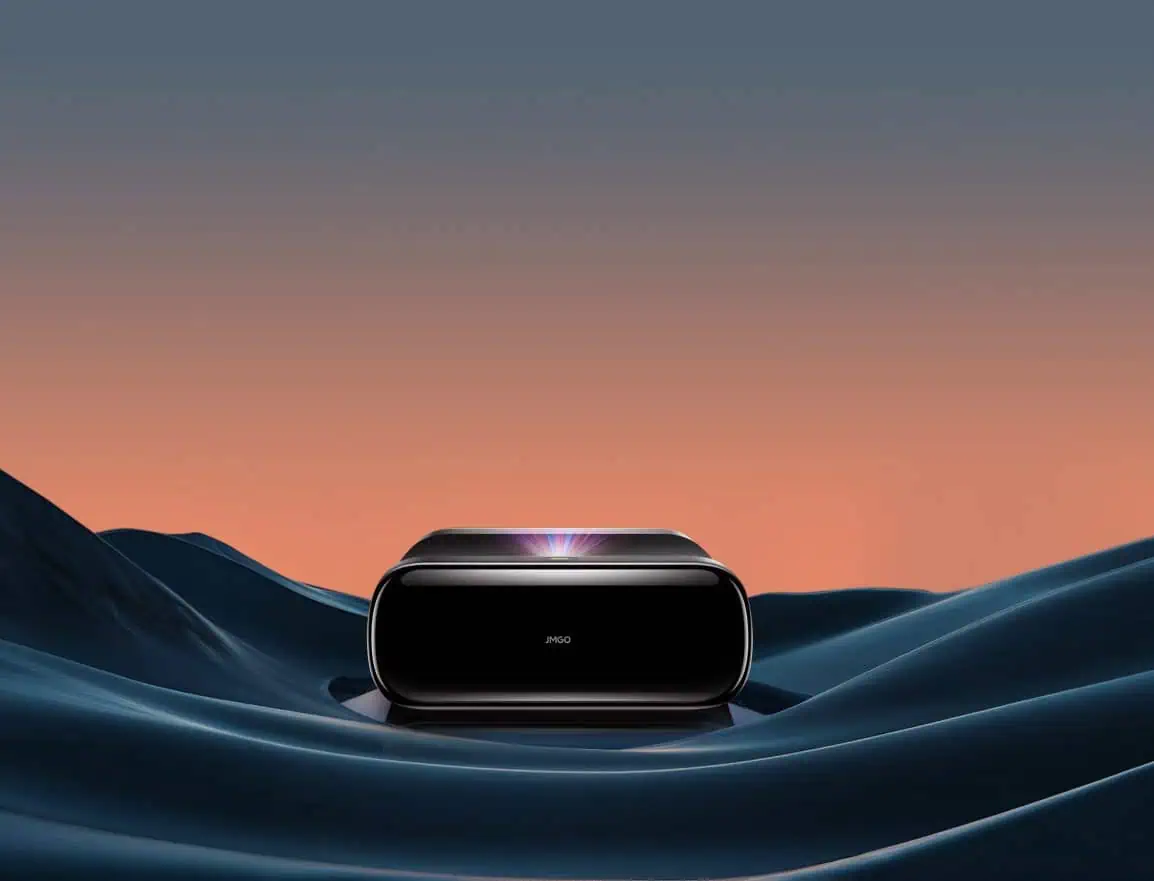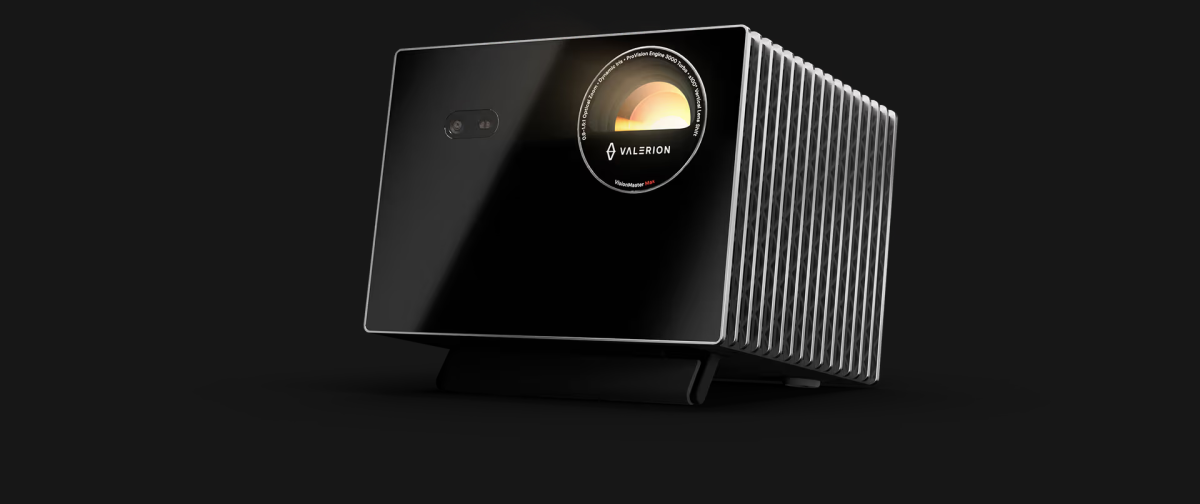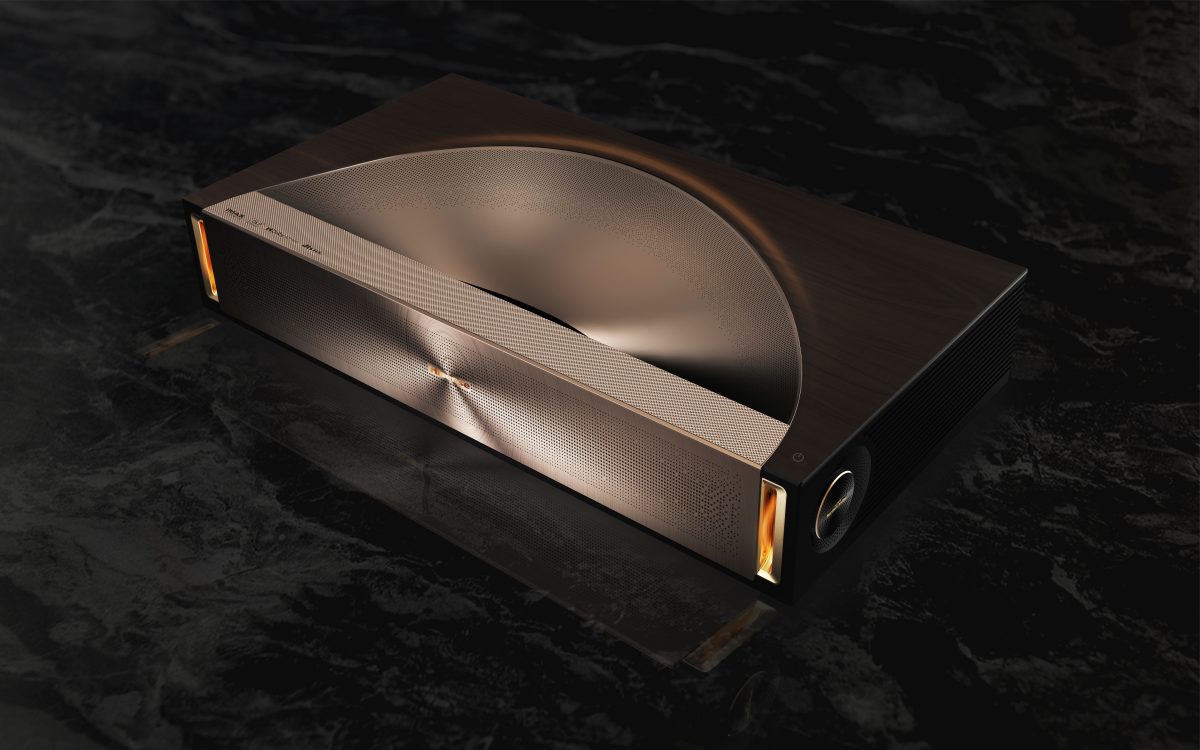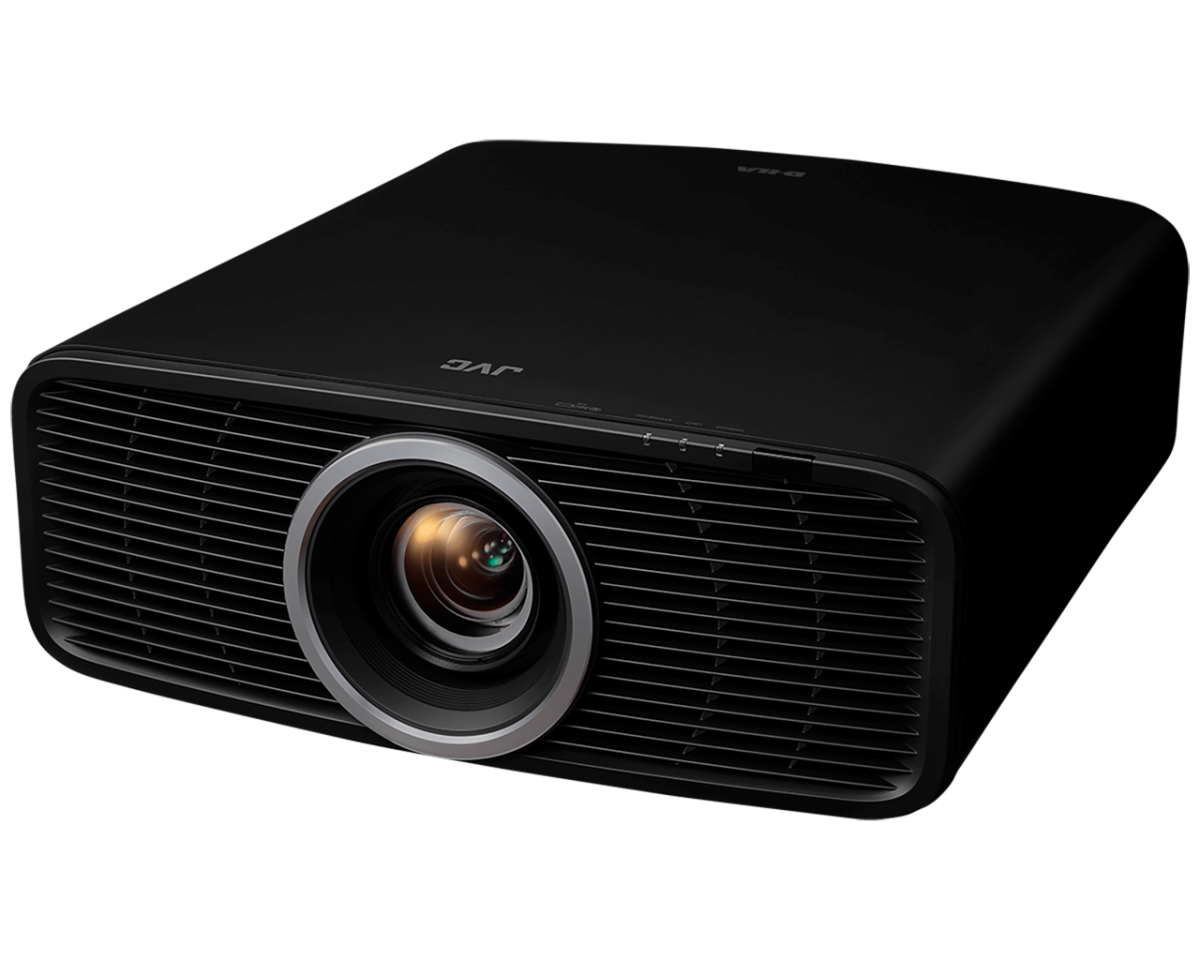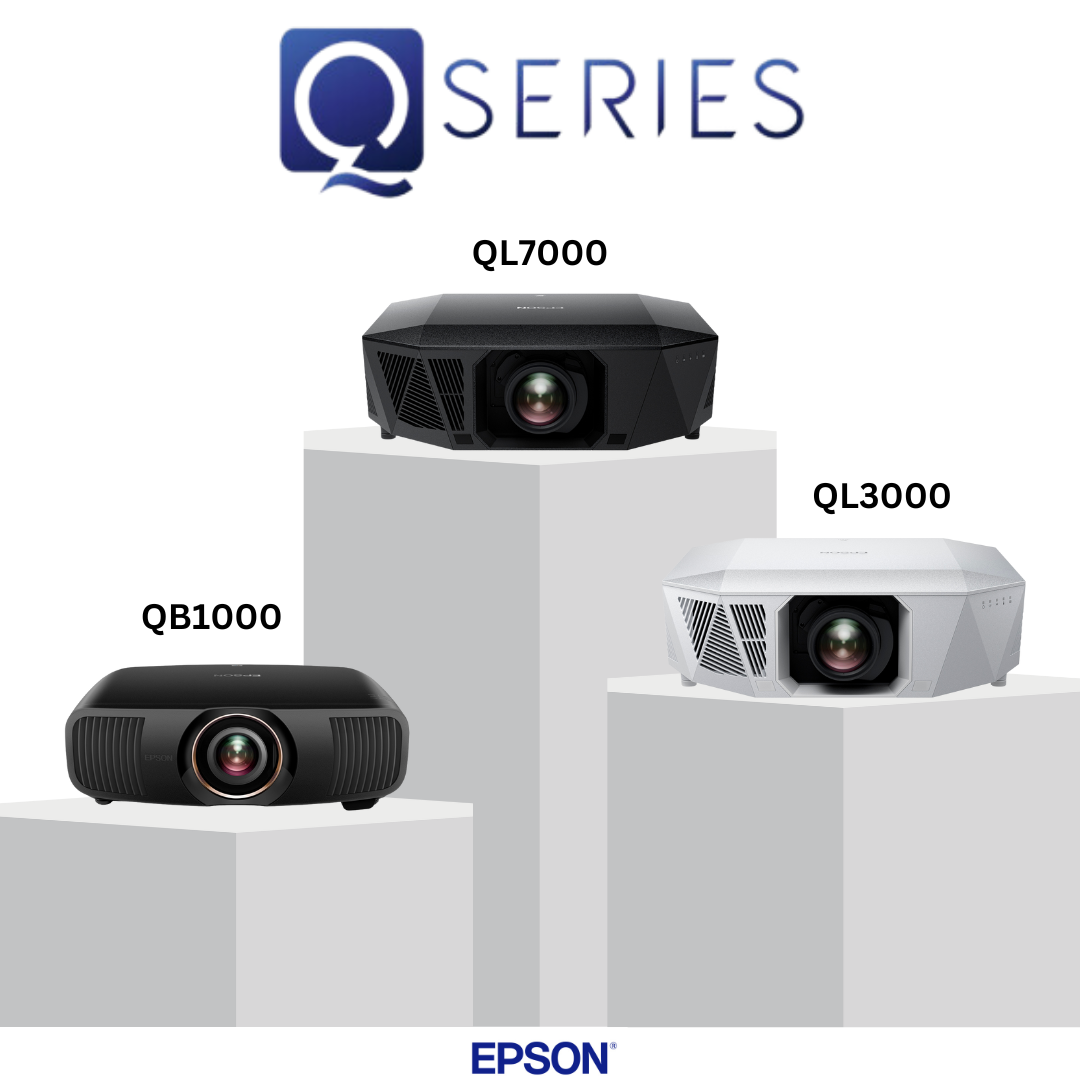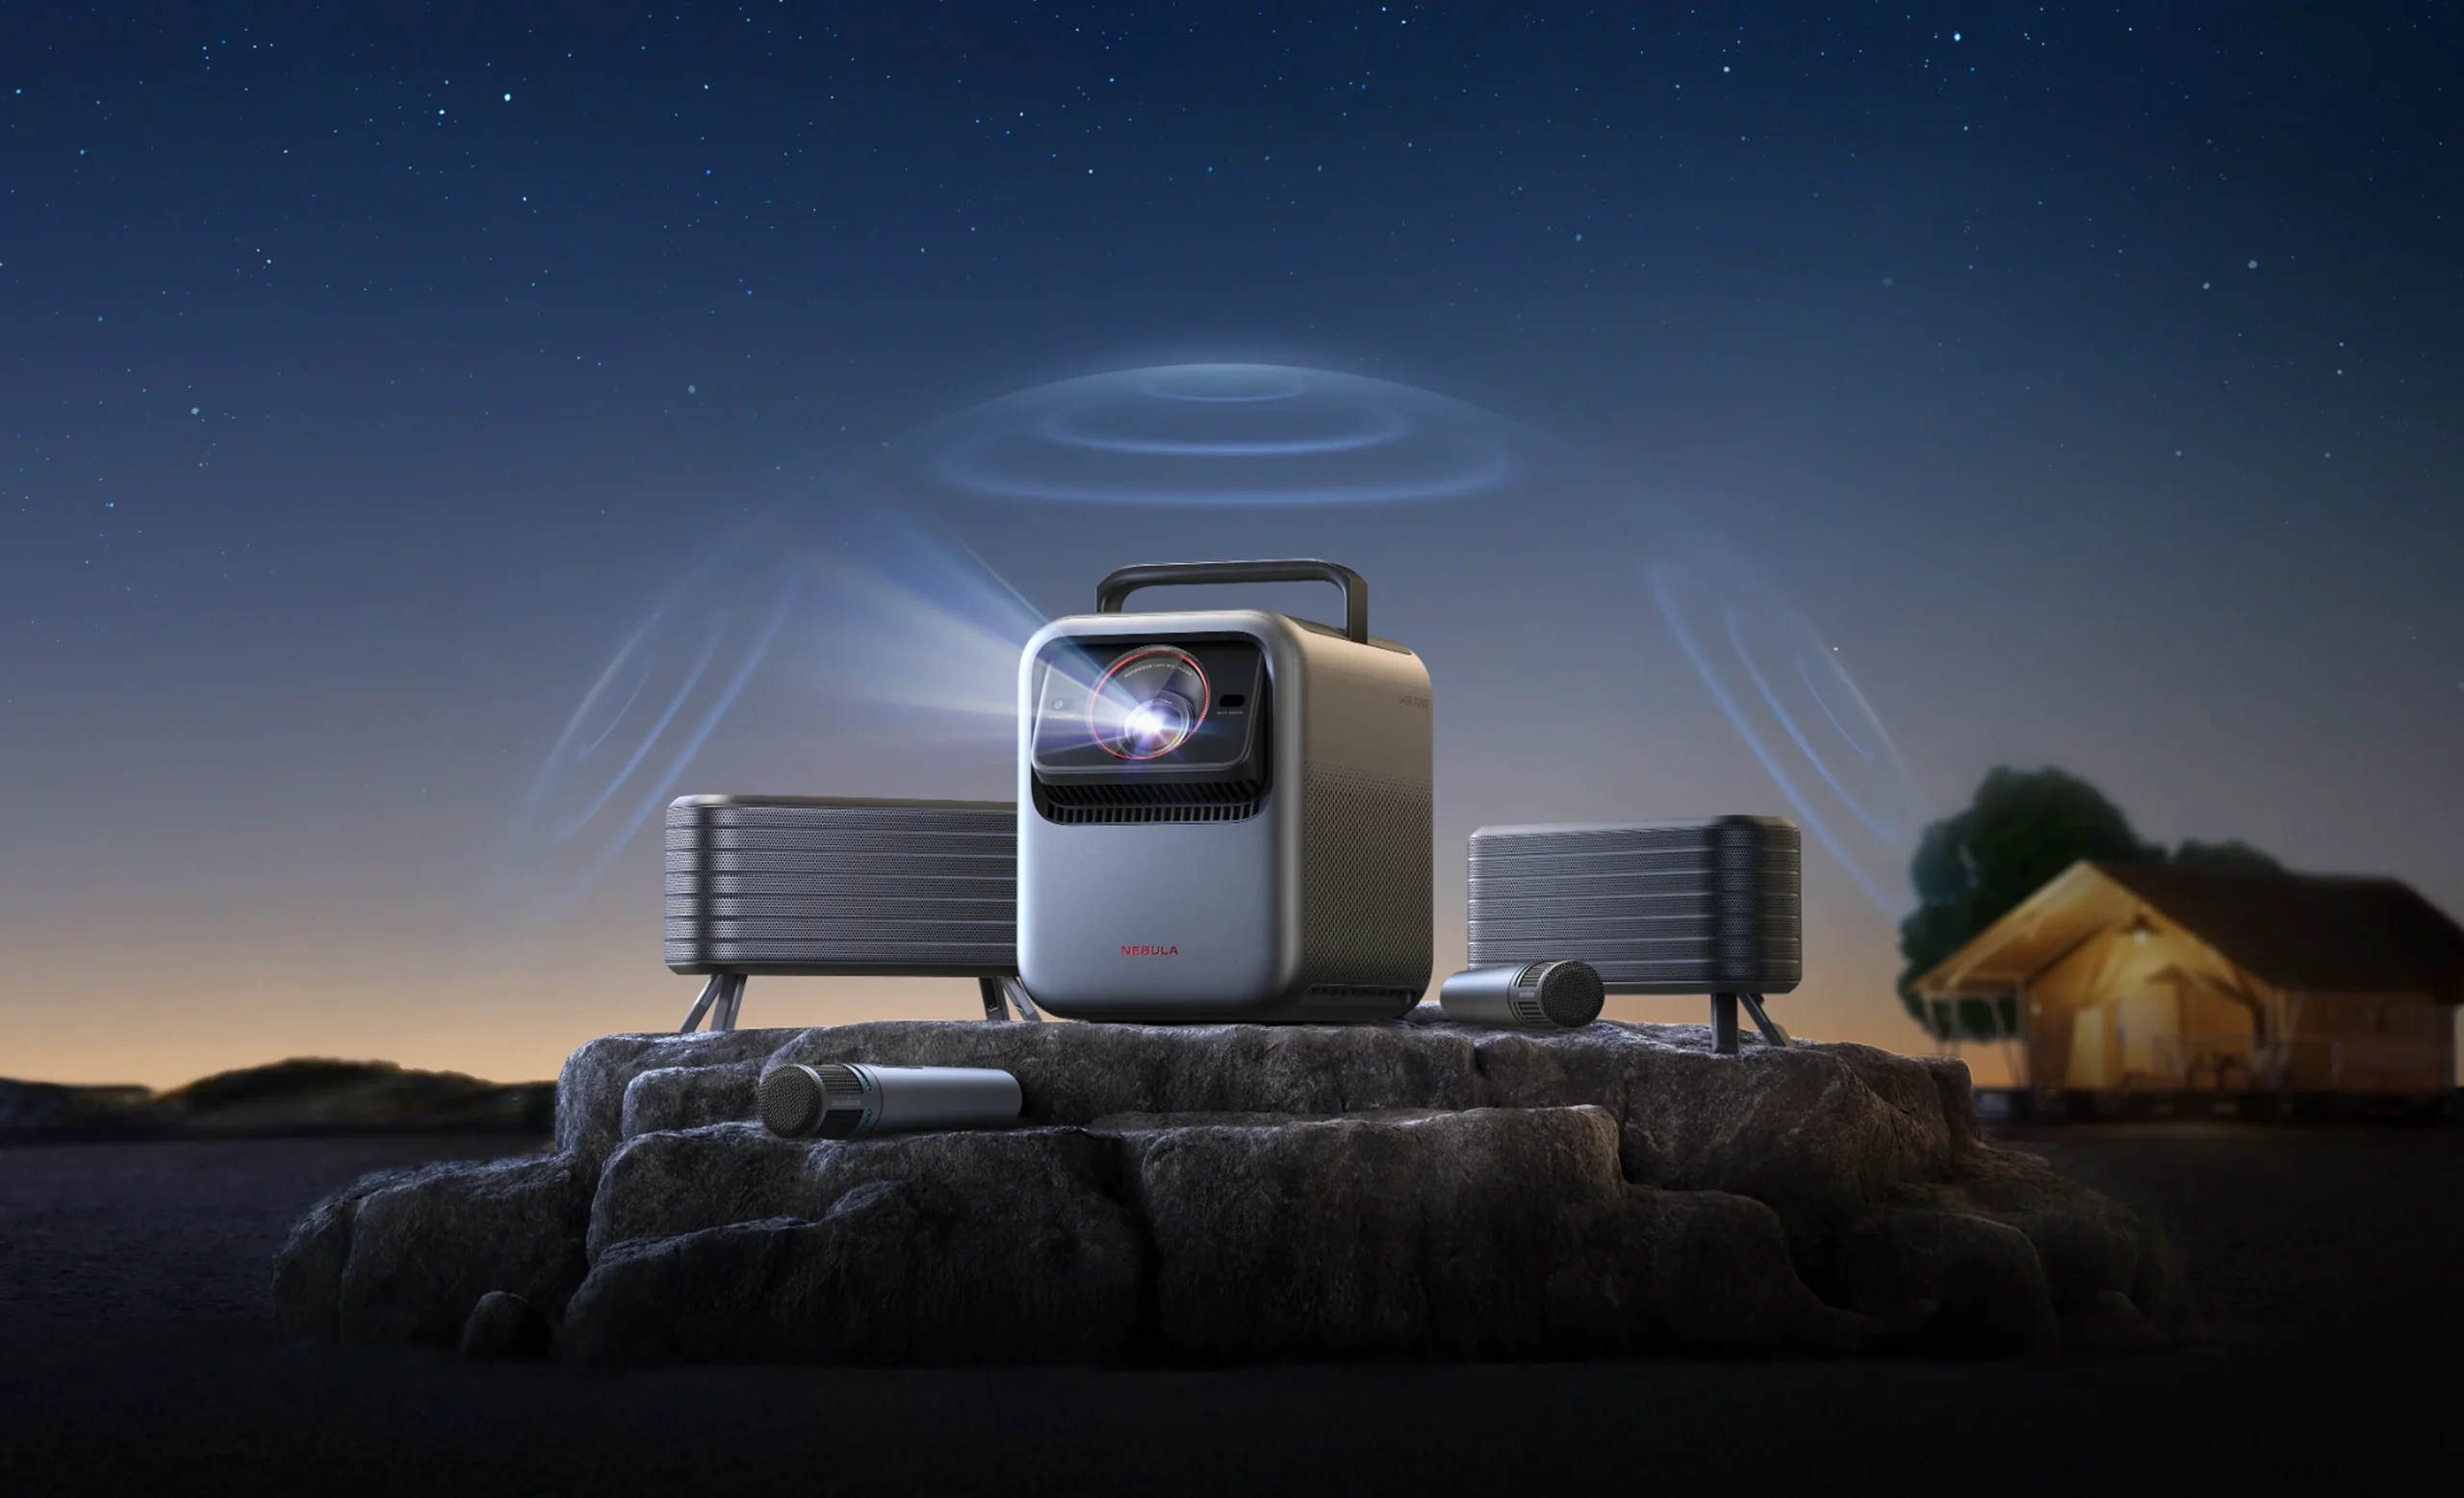
Epson has announced its latest lineup of Q-Series 4K 3LCD Laser Projectors, designed to address the growing demand for visual technology in multipurpose living spaces. According to Epson, the Q-Series projectors are intended to deliver vibrant, true-to-life images in both traditional home theaters and more varied lighting environments.
The new Q-Series includes three models: the QB1000, QL3000, and QL7000, each offering different levels of brightness and performance. The QB1000, with 3,300 lumens, is positioned as a versatile option for various settings, while the QL3000 and QL7000 models, offering up to 10,000 lumens, are aimed at larger or brighter spaces. Epson states that these projectors incorporate their most advanced technologies to date, including HDR10+ and UltraBlack™ technology, to enhance color accuracy and contrast.
Of particular interest is the QB1000, which closely resembles Epson’s successful LS12000 projector but with a few key upgrades. The QB1000 is 600 lumens brighter and now includes dynamic tone mapping, which Epson claims will optimize HDR content by adjusting the image frame by frame. This suggests potential improvements in image quality for users who prioritize detailed and dynamic visuals.
Epson plans to publicly demonstrate the Q-Series projectors for the first time at the CEDIA Expo in Denver, Colorado, from September 5-7, 2024. We’re looking forward to seeing these models in action and assessing how they perform in real-world conditions.
Epson’s Q-Series projectors will be available starting in September for the QB1000 and in October for the QL3000 and QL7000 models, with prices ranging from $7,999 to $29,999. While Epson positions these projectors as premium options for home entertainment, the real test will come with hands-on evaluations and user feedback.
We’ll be covering the Q-Series debut at CEDIA, bringing you our insights and a closer look at what these new projectors offer. Stay tuned for more detailed analysis.
The DreamScreen UltraWeave v7 and XY Screens SoundMax 4K are two of the better performing acoustically transparent screen materials that came out of my recent comparison of 31 AT materials. The results can be found on AVS here, and on my own site with better formatting here. I liked the XY SoundMax 4K material so much I bought it to replace the spandex I had before it. I have since been a proponent of this screen material and have stated that I see almost no texture from seating distances. I also noticed in my tests that the XY Screens SoundMax 4K material looked sharper than the UltraWeave v7 on close inspection. Well, @Lygren respectfully challenged some of my conclusions and graciously sent me enough material to make a full screen to review and compare to the XY screen I already have. I now have the privilege to compare these two great materials in my own theater.
Overview
These two materials both deliver outstanding imagery while doing so in very different ways. The UltraWeave v7 is a custom knit material that is still very unique in the market. In fact, it is so unique that DreamScreen has a patent on its double front layer technology. I’ve seen a couple other materials similar to DreamScreen’s v6 screen, but nothing like the v7. The SoundMax 4K, on the other hand, isn’t all that special in construction. It is a woven screen that is coated to deliver a higher gain surface. I have actually come across another screen material that shares the same exact weave. Regardless of material technology, these two materials deliver a very similar aural and visual experience.
Acoustics
As aforementioned, more in-depth analysis of these two materials can be found in my screen comparison report. I have measurements for both 4″ and 12″ between the speaker and screen for both of these materials. The testing there was also much more stringent than in this test. This is due to the fact that it was logistically impossible for me to make sure the microphone was in the exact same position after moving the screens in and out. Nonetheless, I ran a sweep of my center channel and tried my best to keep the mic in the same position. The speaker was ~6″ behind the screen and the mic was a couple inches in front. Here are those results with psychoacoustic smoothing applied:
Remarkably similar.
Now, in this case the SoundMax 4K does not have a black backing. My setup didn’t call for one. If added then there would be a slight drop of at most 0.5db. Interestingly, the SoundMax 4K attenuated more sound in this setup vs my test rig in my previous report. The setup is quite a bit different so I am not concerned much about it. The shape of the graph is really what I am concerned with since amplifier power is easy to come by; it’s the peaks and nulls of an AT screen that pose the bigger challenge. Both screens have a quite flat rate of attenuation. Subjectively, I was unable to differentiate these two screens during my testing.
I’ll give the nod to the UltraWeave v7 here since it does this with black backing and for it’s consistency between my previous test and here in a new setup.
Visuals
Gain
As with the attenuation tests, my gain tests were not quite as stringent as in my report. I was curious to see if full size screen material cuts performed any differently than the samples I received so I did want to take some readings. In the end, the results reflected my previous examinations. Not much news here. The XY Screens SoundMax 4K does slightly edge out the UltraWeave v7. But, one should note that these differences come from a slight boost in my projectors natural shift toward green and blue. After calibration, these two screens will be nearly identical in brightness.
Sharpness
Now we are getting into the meat of the review. This is one of the areas that has been a bit debated after my final report. Going into this review I was quite curious to see if a full screen example of the UltraWeave v7 installed tightly in a frame would improve the slight softening of the image I had noted before. After quite a bit of examination from seating distances and pixel peeping a variety of content, including the Quick Brown Fox pattern, I can say that the reflected image is softened when compared to the SoundMax 4K. Is it substantially softened? No, not at all. It honestly takes quite a bit of visual effort to see the differences from reasonable seating distances. As I usually do, I recruited my wife to lend a hand eye to confirm what I saw. We watched a few things and she confirmed with me that the SoundMax 4K was just a tad bit sharper from our sofa which is 11′ away, eyeballs to screen. I want to be clear that I wouldn’t consider the UltraWeave v7 blurry at all, it just is a bit below the sharpness of the SoundMax 4K.
Texture
This too was an area that came with great intrigue for me. It also will be mostly focused on the XY screen. The DreamScreen UltraWeave v7 shows no structure whatsoever. It doesn’t matter how close you sit. It’s just smooth.
Ok, now onto the SoundMax 4K. When I personally switched to the SoundMax 4K I was ever so slightly concerned about its potential of showing its weave in a full screen presentation. When I got it installed I was relieved to see what I couldn’t see…the weave. This confirmed my tests from the sample sizes…for the most part. After some forum discussions I started to pay really close attention to my screen and in the areas where the weave could be noticed. Bright, fast paced moving objects where you or the camera are tracking the object are probably the number one way to see the weave pattern of a screen. A great example of this is in sports. I did end up seeing the SoundMax 4K’s weave while watching some NFL Football. This was shortly after the forum discussions and when I was really focused on analyzing the screen. To be honest, I’ve been hard pressed to notice the weave since then, which includes more football.
As stated, I sit 11′ away from my 123″ projected image. When I lean in to about 8′ the weave can be seen when really looking for it or when focusing on one of those fast paced bright objects. I still have yet to notice the weave when relaxing and watching a movie.
Subjective Analysis
Up to this point most of this review has been focused on measurements and pixel peeping. This was not the entirety of my review process. I also watched some content from various sources to see if any of these differences presented themselves in real world content. A new show I found on Apple TV+, Tiny World, was just visually spectacular. Great color, surprisingly great audio, and also great detail. This show presented some great comparison shots for me to go back and forth on. Here is normally where one would note the differences between two things that were being compared. Honestly, it was very hard to tell which screen I was watching. They both looked great and there was no way I could tell the difference sonically. There was no brightness uniformity differences, no texture and only the smallest difference in sharpness was present.
I proceeded to throw a bunch of content at the screens. NFL Football, 4K snowboarding clips on YouTube (which are always stunning), animated 4K HDR films from Disney, and of course some live action feature films. I really had a hard time differentiating these screens from my sofa. They both look great.
From eight feet away, when focusing I could see some of the weave on the SoundMax 4K. At about that distance the sharpness difference between the two also became a bit more noticeable. There’s a bit of a quandary as you move closer to the screen. The UltraWeave v7 is smoother, but the SoundMax 4K is sharper. Personally I would most likely select the UltraWeave v7 in this case as texture is more distracting to me since it comes and goes. Whereas a slightly softened image is consistent. My goal in making a theater experience is to never be removed from the content I’m watching.
Unpacking and Install
Both screens were delivered very quickly relative to their origin. Actually, the DreamScreen was delivered to me in Michigan from Europe in about 48 hours. That was insane. Both were also very well packed in a way that would make damage quite unlikely. I installed both screens around two custom built wood frames. They are different materials but neither presented much issue during the actual install. It is a bit stressful maneuvering materials this nice and this large; so make sure you have plenty of room. DreamScreen included some custom plastic rails for install but I found I didn’t need them with my preferred method of attaching the screen material to the frame. Since my frames are wood I actually like to use tacks to hold the screen. Many use staples but I find tacks, a lot of tacks, hold well and allow for easy readjustment.
The UltraWeave v7 came with a protective white cloth rolled inside to protect the white front from the black back. This material caused some creasing, or indentations, to appear in the front of the screen. I have been told that these creases can easily be removed by using a steamer but it should be noted that this was not present with the SoundMax 4K.
In my own experience with the UltraWeave v7 I have noticed it shows some marks more than the SoundMax 4K. I have a single particular mark that I am unable to get out as of now. I am not sure how this came about so I can’t fully say if it is the screens fault or my own. I feel that it should be mentioned, but I don’t want to make a big deal of it. With this knowledge I’d be a bit careful with how the screen is handled. Manual masking comes to mind as an area I’d take some caution in. My current masking touches the screen. With the UltraWeave v7 I’d be sure to design it so that doesn’t happen.
Conclusion
It is hard to not mention the one major differentiator between these two materials: the price. Raw material alone, the UltraWeave v7 costs 5x more for a screen my size. These are two materials that are extremely similar in performance from the most common seating positions. There is an obvious leader when all things considered and that’s the SoundMax 4K. That isn’t to say the UltraWeave v7 doesn’t have it’s advantages. It does. The integrated black backing and smooth surface make it a very safe choice. The screen will perform well in every situation a solid white screen would. There is no concern about what is behind your screen; paint it white if you want. There is no concern about sitting too close and being distracted by weave, perforations, or shimmer and grain. It’s a peaceful screen. The founder is also an enthusiast just like us. He is here on the forums and that leads to great service. I cannot say the same for XY Screens. While my correspondence with XY Screens has been splendid, I do not get the impression of the same level of passion and care that I do from DreamScreen.
For me, if I were to pick a screen for my theater, I would pick the SoundMax 4K. I already had. Price is of course a factor but the minor advantage in sharpness is something that I appreciate. That may be because my Epson 5050UB could use that extra advantage compared to today’s native 4K and DLP XRP projectors. My two young kids not being able to stop being kids also is a factor after seeing the UltraWeave v7 take marks in my environment. DreamScreen’s TextileShield PRO option would probably rectify that concern though.
At the end of the day, these are both great screen materials and there isn’t a wrong choice.
The SoundMax 8K and 4K both did so well that I reached out to XY Screens and have agreed to split their usual referral fee between myself and anyone that orders a screen mentions me. Just email Gloria at gloriakowk@xy-screen.com and say you were referred by Andy at Pixel Home Theater. Do not use the main XY site as the request won’t get to Gloria. It should get you a $20-25 discount.
If you are interested in finding out more about the XY Screens SoundMax 4K then please feel free to contact gloriakowk@xy-screen.com. Make sure you say Andy from Pixel Home Theater sent you and you may receive a slight discount.
You can find out more info about the UltraWeave v7 from DreamScreen here. It can be ordered in the USA through AVScience.
Finding the right screen and screen material for your home theater can be quite challenging. Screen size, screen gain, room environment, ambient light, projector light output, screen type, cost, and more can make anyone’s head spin. If you pick an acoustically transparent screen, things get more complicated: 1) there aren’t as many options, and 2) there are more variables to consider, which impact both picture and sound. Plus, acoustically transparent screens on average (at least woven ones) have a lower rated gain than your traditional screen material! Challenging, indeed.
It’s commonly recommended to get as many samples as possible and compare. That’s time-consuming, though, and it can be hard to know what to look for. The goal of this project was to do that comparison and report the findings, in detail, at one time and in one place. Removing as much subjectivity as possible, I’ve tested 31 acoustically transparent screen materials for dB loss, estimated screen gain, visible texture from eight, ten, and 13.5 feet, contrast, and sharpness.
How should this be used?
My goal is not to pick a screen for you. There is still some subjectivity involved when picking a screen. All of these screens have some tradeoffs. It is up to you to select the screen that fits your needs and desires. What this report can do is help you narrow down the list. I’d encourage anyone reading this to select a few that check the right boxes and order some samples. Then pick from that grouping.
Materials Tested
Material
Material Type
Carl’s Place Nano Acoustic FlexiWhite
Perforated
Carl’s Place Nano Acoustic FlexiGray
Perforated
Carl’s Place SheerWeave Acoustic
Coated Woven
DreamScreen UltraWeave V6
Bonded Woven
DreamScreen UltraWeave V7
Bonded Woven
Elite Screens AcousticPro 1080P3
Uncoated Woven
Elite Screens AcousticPro UHD
Coated Woven
Elite Screens AcousticPro 8K
Bonded Woven
Elite Screens Cinema White 8K
Bonded Woven
Severtson Cinema White MicroPerf
Perforated
Severtson BWAT
Coated Woven
Severtson SAT-4K
Uncoated Woven
Severtson TAT-4K
Uncoated Woven
Seymour AV Center Stage UF
Uncoated Woven
Seymour AV Center Stage XD
Coated Woven
Seymour-Screen Excellence Enlightor Neo
Uncoated Woven
Seymour-Screen Excellence Enlightor Bright
Coated Woven
Silver Ticket WAB
Coated Woven
Silver Ticket WVS
Uncoated Woven
Spandex – white over black – from Fabric Wholesale Direct
Uncoated Woven
Spandex – light silver over black – from Spandex World
Uncoated Woven
Stewart Filmscreen Harmony G2
Uncoated Woven
Stewart Filmscreen GreyMatte 70 Perforated
Perforated
Stewart Filmscreen FireHawk G5 Perforated
Perforated
Stewart Filmscreen StudioTek 100 Perforated
Perforated
Stewart Filmscreen StudioTek 130 G4 Perforated
Perforated
XY Screens Black Crystal Perforated
Perforated
XY Screens MFS 1 Perforated
Perforated
XY Screens Sound Max 5 Perforated
Perforated
XY Screens Sound Max 4K
Coated Woven
XY Screens Sound Max 8K
Coated Woven
Material Types
Four types of acoustically transparent materials were tested:
standard screen material with micro-perforations to allow sound to pass through;
uncoated woven screen material with a t-shirt kind of feel
bonded woven is a material that has the black backing attached to the front material
coated woven screen material, like the strong outdoor fabric stretched across lounge chairs
Uncoated woven screens typically have less texture but are less sharp. Coated woven screens will typically have a higher gain and will be more sharp compared to the uncoated, but they have a tendency to show more texture. Bonded woven screens are very smooth, have good to great acoustics but struggle with sharpness. All types of woven screens can have good acoustic properties. The micro-perforated screens all suffer in dB attenuation and need a greater seating distance to not show texture. On the other hand, micro-perforated screens can offer very high gain or ambient light rejection characteristics that woven screens just can’t.
The Results
Here are the materials that really stood out after my battery of tests:
Best Acoustics
XY Screens SoundMax 8K
The SoundMax 8K is at the top of the list for both 4″ and 12″ speaker to material distances. It somehow beat one layer of spandex at 12″. If you need your speakers close to your screen and to have the material make the least acoustic impact, the SoundMax 8K is your pick. It also is very smooth, with no visual texture from even 8′. Gain comes in at 0.69. harpness is slightly improved over the SoundMax 4K but is equally rated as ‘Better’. Even with a black backing, this material is great acoustically. It can be used without a black backing if the area behind the screen is black.
The SoundMax 8K and 4K both did so well that I reached out to XY Screens and have agreed to split their usual referral fee between myself and anyone that orders a screen mentions me. Just email Gloria at gloriakowk@xy-screen.com and say you were referred by Andy at Pixel Home Theater. It should get you a $20-25 discount. If you go through the main XY Screens site this discount won’t be possible because she won’t get the message.
Silver Ticket WAB
The Silver Ticket WAB also performed extremely well acoustically for both 4″ and 12″. Estimated gain read at 0.70. It is a bit sharper than the SoundMax 8K but shows some graininess at 8′. Ten feet and beyond it appears smooth. Contrast is average for its material type. Overall, this is a very good material from a company with reasonably priced screens.
This is my personal top pick of all the materials I tested. There is virtually no texture, it has a pretty high gain for a woven screen, its acoustic impacts are manageable at both 4″ and 12″. It maintained contrast well compared to the solid screen. One of the handful of materials I tested without a black backing and it had the lowest contrast drop in that test. Sharpness was rated as ‘Better’. Literally an editor’s choice as I picked it for my theater. I needed a screen that would show no texture at 11-12′, could work well with speakers at a close distance (4-5″), had a higher gain, and was DIY/budget-friendly. This screen checked all of my requirements.
I had a bit of trouble with this screen at first. I couldn’t find an orientation without visible moire. I eventually emailed XY Screens and they helped correct the orientation, which eliminated the moire. So, be careful with your orientation with this one.
See the notes on the SoundMax 8K for ordering information.
Highest Gain
Severtson Cinema White MicroPerf
The Severtson CWMP beat out the other high gain micro-perf screen I had on hand, the Stewart StudioTek 130 MP, on both acoustics and gain. (1.10 vs 1.02, although I do believe I may have gotten a bad ST130 sample as my measurements and the perceived gain did not line up with other 3rd parties measurements and perceptions). This screen showed some shimmer throughout the viewing distances. Sharpness and contrast will be good due to it being a high gain micro-perf screen. As with all the micro-perf screens, the more room you can give between speaker and screen the better. It is not recommended to install this screen within 6″.
Severtson screens appear to be available through their website here.
Highest Gain, Woven
Seymour-Screen Excellence Enlightor Bright
The Enlightor Bright earned its name by coming in with an estimated gain of 0.85. Beating out its stablemate the CenterStage XD by 0.02. They appear to have identical weave patterns and thus both materials are very similar visually, and acoustically. They are ok in close proximity to the speakers but the amount of comb filtering may cause some EQ troubles. If placed at 12″ then they will do very well with just a dip in the higher frequencies that should be able to be very easy to EQ out. Texture-wise these materials struggled. I was able to see the weave at 8′ and even at 13.5′ they still appeared a bit grainy, a rarity for most woven screens I tested.
Seymour-Screen Excellence screens can only be purchased through an authorized dealer. To request samples and find a dealer go to their website here.
No surprises here. This material is an AVSForum darling and it is easy to see why. Spandex is so incredibly smooth with absolutely no texture from any seating distance. Acoustics are also stellar. Pretty impressive for a material that costs about $80 for both the front and back layers for a 120″ screen! I’ve used this material to make a screen and from experience, I can say that it is very easy and forgiving to install, making it a great DIY’ers choice. It gets knocked for sharpness, like most ultra-smooth woven materials, and its gain is on the low side at 0.64.
One thing to note with spandex is that stretching it can have a fairly significant impact on gain. I saw an almost 15% drop in gain when stretching the white spandex. My end measurement was done with fairly minimal stretching and should reflect a proper install. Do not overstretch spandex. Rose Brand sells a 120″ wide version and that is for sure recommended if going with a larger screen than the traditional 60″ wide can handle.
Note that the spandex used for testing is from Fabric Wholesale Direct. There are multiple spandex manufacturers out there and I can’t comment on how each differs.
Just because a material didn’t get mentioned here doesn’t mean it isn’t good. There are a lot of solid acoustically transparent materials on the market right now. I encourage you to look over the data and find which screens can work for you.
Only six woven materials achieved 0.78 gain and over. All but one would get my recommendation. To that extent, I feel compelled to call out a couple that deserve the spotlight.
Elite AcousticPro UHD
This material has an identical weave pattern to the XY Screens SoundMax 4K material. Therefore, a lot of the measurements are in line with each other. The Elite AcousticPro 4K doesn’t do as well with acoustics but aside from that the screens perform very similarly; relatively high gain, ‘Better’ sharpness, and no texture visible. It is a bit warmer in color compared to the SoundMax 4K which can affect projector calibration.
The UltraWeave v7 is a highly regarded material and it did well on pretty much all fronts. Gain on the v7 comes in at 0.78 and 0.67 for the v6. Acoustics are very good on the v6. While on the v7 there is more attenuation across the frequency range, it is fairly flat which should be able to be easily accounted for with a little EQ and volume control. Like the other bonded materials, the v6 and v7 materials stood out for their complete lack of texture. Likewise, this affected their sharpness coming in as just ‘OK’. It is important to call out that both include their black backing so there is no guesswork on whether the area behind the screen will affect the performance of the materials.
The only place I know to order this screen in the US is from AVScience.
The Measurements
Gain
Material
Gain
Contrast
Reflectance Standard
1.00
–
Severtson Cinema White 1.3 MP
1.10
53.4
Stewart StudioTek 130 G4 MP
1.02
49.9
Stewart StudioTek 100
1.01
48.8
Carl’s FlexiWhite Nano
0.93
50.2
Stewart StudioTek 100 MP
0.91
46.8
Seymour Excellence Enlightor Bright
0.85
45.6
Seymour Center Stage XD
0.83
45.7
XY Screens Sound Max 5 Perforated
0.83
46.5
Carl’s ShearWeave Acoustic
0.80
–
Elite Screens AcousticPro UHD
0.80
45.0
Carl’s FlexiGray Nano
0.79
–
XY Screens Sound Max 4K
0.79
46.5
DreamScreen UltraWeave V7
0.78
46.3
Stewart FireHawk G5 MP
0.78
62.7
Silver Ticket Acoustic WAB
0.70
45.4
XY Screens Sound Max 8K
0.69
45.5
Severtson BWAT
0.69
45.4
Silver Ticket Acoustic WVS
0.68
45.1
Severtson SAT-4K
0.67
47.1
Seymour Excellence NEO
0.67
45.2
DreamScreen UltraWeave V6
0.67
46.7
Stewart Harmony G2
0.66
45.9
Seymour Center Stage UF
0.65
43.4
Elite Screens AcousticPro 8K
0.64
45.6
Spandex FWD White Spandex/Black
0.64
44.9
XY Screens MFS 1 Perforated
0.61
56.3
Elite Screens CineWhite A8K
0.61
46.1
Elite Screens AcousticPro 1080P3
0.56
44.7
Stewart GreyMatte 70 MP
0.55
49.0
XY Screens Black Crystal Perforated
0.54
61.8
Severtson TAT-4K
0.49
46.9
Spandex World Light Silver/Black
0.43
45.1
All woven materials, except the Carl’s ShearWeave, were tested with the manufacturer’s supplied black backing. FWD = Fabric Wholesale Direct.
Here are the REW frequency response graphs for each material compared to the control measurement. The blue line is with psychoacoustic smoothing (what we should hear) and the grey line is 1/48 octave smoothing.
4″ Between Material and Speaker
12″ Between Material and Speaker
dB Loss Numerical Data
For this data, I set the smoothing to 1/3 octave and took readings at 1Khz, 5Khz, 10Khz, and 16Khz. I then calculated the average dB loss, max dB loss, and standard deviation. Lower numbers are better. The chart below is sorted by 4″ standard deviation. It is sorted this way because high average loss isn’t necessarily bad. If the standard deviation is low, and there aren’t a lot of peaks and nulls in the psychoacoustic graph then the higher losses can easily be adjusted for by higher volume, or power. An example of this is the Seymour-Screen Excellence Enlightor Neo. At 4″, it has one of the highest average losses but a low standard deviation with a pretty flat psychoacoustic graph.
Material
4″Std Dev.
4″ Max
4″ Avg.
12″Std Dev.
12″Max
12″Avg.
Spandex FWD 1 Layer
0.1
1.0
0.8
0.3
1.2
0.9
XY Screens Sound Max 8K
0.2
1.1
0.9
0.2
1.4
0.8
Silver Ticket Acoustic WAB
0.3
1.1
0.8
0.4
1.5
0.9
Spandex FWD 2 Layers
0.3
1.6
1.3
0.5
2.2
1.6
Stewart Harmony G2
0.3
2.5
2.2
0.5
2.8
2.2
Severtson BWAT
0.3
1.4
1.0
0.5
1.8
1.1
Dreamscreen V6
0.3
2.1
1.7
0.5
2.3
1.7
XY Screens Sound Max 8K + BB
0.3
1.6
1.3
0.6
2.2
1.4
Stewart Harmony G2 + BB
0.4
2.6
2.2
0.5
3.0
2.4
Seymour Excellence NEO
0.4
4.1
3.8
0.6
4.4
3.7
Elite Screens AcousticPro 1080P3
0.4
2.2
1.9
0.5
2.6
2.0
Seymour Center Stage UF
0.4
2.9
2.5
0.5
3.2
2.6
Elite Screens CineWhite A8K
0.4
2.9
2.4
0.6
3.1
2.4
Elite Screens AcousticPro 8K
0.4
2.5
2.1
0.6
2.8
2.1
Seymour Excellence NEO + BB
0.5
4.4
4.0
0.7
4.8
4.0
Severtson SAT-4K
0.5
2.4
1.9
0.6
2.8
2.0
Elite Screens AcousticPro 1080P3 + BB
0.5
2.7
2.2
0.6
3.0
2.3
Severtson SAT-4K + BB
0.5
3.9
3.3
1.0
4.8
3.6
Silver Ticket Acoustic WVS
0.6
2.9
2.3
0.6
3.1
2.3
Severtson BWAT + BB
0.6
3.3
2.8
0.9
4.0
2.9
Seymour Center Stage XD + BB
0.6
2.6
2.2
0.8
3.3
2.3
Severtson TAT-4K + BB
0.6
4.5
3.9
1.0
5.2
4.0
XY Screens Sound Max 4K
0.6
2.5
1.8
0.9
3.1
1.9
Severtson TAT-4K
0.6
3.2
2.5
0.8
3.6
2.6
Silver Ticket Acoustic WVS + BB
0.6
3.5
2.9
0.7
3.8
2.9
XY Screens Sound Max 4K + BB
0.6
2.7
2.1
1.0
3.6
2.3
Dreamscreen V7
0.6
4.1
3.4
1.0
4.4
3.2
Seymour Center Stage XD
0.7
2.7
1.9
0.9
3.3
2.0
Seymour Excellence EN-B
0.8
2.8
1.9
1.0
3.4
2.0
Seymour Center Stage UF + BB
0.8
4.1
3.0
0.7
3.7
2.7
Silver Ticket Acoustic WAB + BB
0.8
2.8
1.8
0.6
2.5
1.6
Seymour Excellence EN-B + BB
0.8
3.2
2.3
1.0
3.7
2.4
Elite Screens AcousticPro UHD
0.9
4.2
3.2
0.9
4.8
3.4
Carl’s ShearWeave Acoustic
0.9
2.7
1.7
1.3
3.7
1.9
Elite Screens AcousticPro UHD + BB
1.1
4.8
3.6
0.8
4.8
3.7
Severtson Cinema White 1.3 MP
1.6
4.5
2.6
1.0
3.1
2.1
Carl’s Nano Acoustic
1.7
4.6
2.7
2.1
5.6
2.7
XY Screens MFS 1 Perforated
2.0
5.6
3.3
2.6
6.8
3.4
Stewart GreyMatte 70 MP
2.1
5.7
3.2
2.4
6.5
3.2
Stewart StudioTek 100 MP
2.1
5.7
3.2
2.4
6.5
3.2
Stewart StudioTek 130 G4 MP
2.1
6.0
3.6
2.7
7.3
3.7
Stewart FireHawk G5 MP
2.2
6.0
3.5
2.8
7.4
3.7
XY Screens Sound Max 5 Perforated
2.8
7.7
4.5
3.2
8.6
4.5
XY Screens Black Crystal Perforated
2.8
7.8
4.6
3.2
8.7
4.5
FWD = Fabric Wholesale Direct.
Commentary and Buying Guide
While performing and researching this project and because of the great feedback I received on first version I have learned a lot. A lot that I don’t believe is readily available or known by those shopping for an acoustically transparent screen. Here is a summary of what I have learned:
The Distance Between Speakers and Screen Has a Big Impact on Acoustics
In my measurements I saw that not all screens were affected equally by adding more space between the speaker but as a general rule the peaks and dips were significantly reduced. The is especially true for perforated screens. Comb filtering is greatly reduced as the speaker is moved back and the entire frequency range is much more manageable for equalization. Placing a screen directly in front of in-wall speakers should be done with great care and planning. A micro-perf screen will not work for close distances. Most manufacturers recommend at least six inches but I’d recommend shooting for the 12 inches for a micro-perf screen. This study commissioned by Screen Excellence was referenced many times. In it you can see how increasing the distance between the screen and speaker can have a significant impact.
Not Using a Black Backing Negatively Impacts Contrast
All woven acoustically transparent screens took a hit compared to a solid screen. Perforated screens can maintain contrast better because they can have some ambient light rejecting properties to them. But a perforated screen will still lose some contrast compared to its solid counterpart. On average I saw a 6.5% drop in contrast between a solid screen and a woven screen with its black backing. Bonded screens did slightly better. I measured another 4-6% percent drop when the black backing was removed with a max drop of 12% for my intra-scene contrast pattern. This isn’t a huge change but if you are trying to muster every bit of performance out of your projector then it may be worth accounting for.
There Are No Woven Unity Gain Screens
No matter the ratings by many manufacturers, there are no woven screens that hit a gain of 1.0. This isn’t an error in my measurement equipment. I have a reflectance standard and a screen that measures nearly identical to it (StudioTek 100). No woven screen can touch it. Visually, it is plainly obvious when comparing them to each other too. I have also learned that many manufacturers are not rating their materials with reflectance standards but instead with comparisons to other screens or maybe with their own methods. I saw with samples that were sent to me and conversations with manufacturers that there are unit to unit variations so even comparing numbers to other known screens and their gains can be flawed. I hope in the future that all manufacturers use industry accepted reflectance standards and have them routinely calibrated.
Treating the Area Behind the Screen Is Crucial
What happens to the the sound that doesn’t make it through the screen? Well, some of it may get absorbed in a woven screen but a lot of it will get reflected back behind the screen. Then what? If you have it treated with sound absorbing materials then mostly nothing will happen. The sound will be absorbed and you’re good to go. But, if you don’t then this sound energy will get trapped, build, and then come through the screen causing peaks in your frequency response. Treat the area behind your screen as best you can. And if possible, add some sound absorption to the baffle of your speakers.
Testing Methodology
Max dB Loss
For measuring acoustic attenuation I used a calibrated UMIK-1 microphone, REW installed on a 2015 MacBook Pro, and a PreSonus E3.5 powered monitor. I built a rig to hold each material and to block sound from diffracting around the outer edge of the material holder. This rig was 3’x3′ and lined with mineral wool on the speaker side. All woven materials were tested with and without their manufacturer-supplied black backings.
Estimated Gain and Contrast
I used my X-Rite i1Display Pro colorimeter hooked up to HCFR measuring an Epson 5050UB projector to estimate gain. An Optikon reflectance standard was used to establish a 1.0 gain reading. Since my meter has a 5-degree viewing angle, these measurements aren’t perfectly on-axis but they are very close. Because of this, they are listed as estimated gain. These numbers should be compared against each other in this report, not against other benchmarks. All woven materials were tested with their manufacturer-supplied black backings.
In this same setup, I also measured contrast with a self-created pattern. This pattern was a sort of contrast torture test:
This is the two patterns combined in one image; I measured the small white/black box in each pattern. This pattern was created so black and white would be projected on my letter sized sample swatches. This way I could see if light back bleed would alter the contrast ratio. Again, every woven material was measured with its black backing. I also tested a select few without to see how the results were impacted. Dark grey acoustic foam as seen in the picture below was behind the materials during testing.
Texture
To test the visible texture, I created a rig that could be hung from my screen’s french cleat and hold about 8-9 screen samples. For evaluating texture I displayed a 100% white image, an image of clouds, a couple of videos that panned across sky and mountains. These bright areas, and specifically while the camera is panning, are where a screen shows its worst texture characteristics.
My subjective analysis was done from eight, ten, and 13.5 feet away. I also would view each sample at an angle to see if any moire would develop. All woven materials were tested with their manufacturer-supplied black backings.
Sharpness
For evaluating each screen’s abilities to accurately show fine details I used the Quick Brown Fox pattern and took pictures of the same area for each screen. I compared each material to a piece of paper as a reference. I used a FujiFilm XT-10 and an iPhone XS in an attempt to capture each screen’s detail reproduction. This did not turn out flawlessly. Using auto-exposure was essential since the brighter screen almost always looks more detailed. Doing so resulted in each camera sometimes getting tripped up and not entirely capturing what is seen in real life. In the end I used the photo captures and my own eyes to establish an OK/Good/Better/Best rating. Here is a representation of what each category looks like:
The Spreadsheet of “Truth”
Here you can find all my measurements and notes on the visible texture of each screen material. Feel free to view it directly here.